TL;DR
To accept crypto payments on a website without building a payment backend, use a Payment Link or an official CMS plugin. Payment Links suit manual invoices and simple buy buttons. A plugin connects invoices to orders on a supported commerce platform. Hosted Checkout, the Low-Code SDK, and the REST API provide progressively more control when the website already has its own order system.
“No code” should reduce integration work, not remove the order controls around a payment. The website still needs a reliable way to match each invoice to a sale and fulfil it only after blockchain confirmation.
You can accept crypto payments on a website without building a payment backend. A Payment Link gives each sale a hosted payment page, while an official CMS plugin connects crypto checkout to a supported store. Custom websites can add Hosted Checkout or the Low-Code SDK when they need automatic order updates without designing the blockchain payment screen themselves.
The important boundary is operational. No-code tools remove integration work, but they do not turn a blockchain transfer into a complete order process. Each sale still needs an amount, an invoice reference, a payment state, and a clear fulfilment rule.
What does a website need to accept crypto payments?
A working payment route has four parts. The website or merchant creates an invoice, the customer sees an exact asset-and-network route, the blockchain records the transfer, and the order changes state after confirmation. Removing code from the first step does not remove the other three.
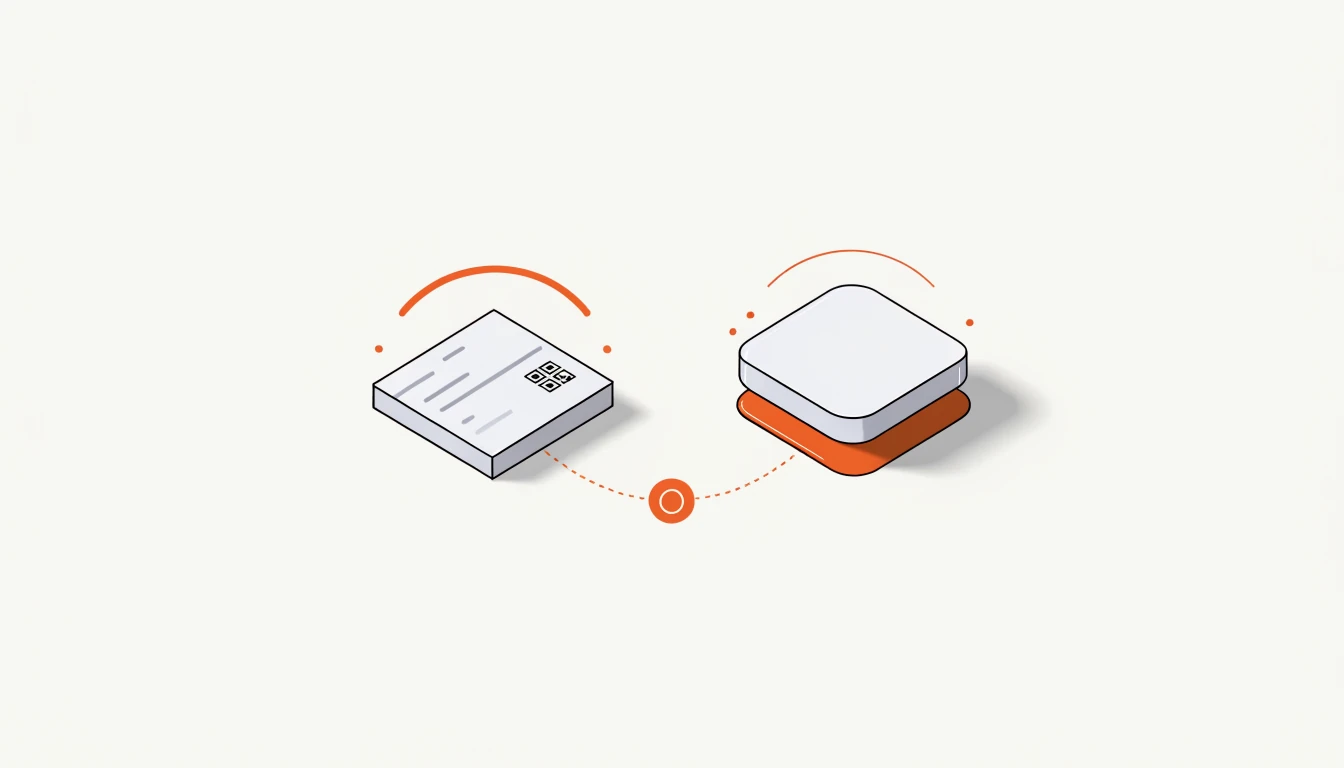
Paymos provides several surfaces over the same invoice model. Payment Links cover direct sharing and simple website buttons. Official CMS plugins connect invoices to native store orders. Hosted Checkout provides the payment page for a custom website, while the Low-Code SDK places that flow inside an existing page. The REST API fits a server that needs complete control of invoice creation and order state.
Choose the least custom route that preserves the business rule. A brochure site selling one service may need only a link. A store with changing stock and automated fulfilment needs an order connection.
Which options require no code?
Two paths can start without application development. A Payment Link works as a normal URL: create the invoice, copy the link, and place it in an email, chat, invoice, or website button. It fits fixed-price services, deposits, and sales where a person already manages the order.
An official CMS plugin fits a store running on a supported platform. Paymos provides plugins for WooCommerce, WHMCS, OpenCart, PrestaShop, Magento 2, Shopware 6, CS-Cart, and Easy Digital Downloads. The plugin keeps the store order and payment invoice in one platform flow, which avoids the manual matching required by a standalone link.
Hosted Checkout itself is a ready-made page, but a custom website still needs a way to create the invoice and associate it with an order. The Low-Code SDK adds a small browser integration. Neither should be described as zero-work: they reduce checkout development while preserving the merchant's existing order logic.
How do Payment Links work on a website?
Start with a project in the Paymos dashboard. Configure the project name, logo, checkout colors, and return URLs. Then create an invoice and use its Payment Link as the destination of a normal “Pay with crypto” button.
Keep the business reference beside the link. A service business can record the invoice ID in its CRM or order note. A small catalog can create one invoice for each actual sale rather than reusing a single destination address. This keeps the amount, payment state, and customer conversation attached to the correct order.
A Payment Link is strongest when the price and fulfilment step are controlled by a person. If a page recalculates tax, inventory, seat availability, or a discount at checkout, a manually created link can become stale. That is the point to move from a standalone link to a plugin or connected checkout.
When should a store use a CMS plugin?
Use a plugin when the commerce platform already owns the product catalog, order number, price, and fulfilment state. The plugin adds a crypto payment method to that existing process instead of creating a second order ledger outside the store.
The practical advantage is state alignment. The store creates the order, Paymos creates the payment invoice, and the confirmed result returns to the same order. Staff can investigate an unpaid or expired invoice from the business context that produced it. The buyer does not need a separate Paymos account.
Platform support matters. Paymos has eight official CMS plugins, including WooCommerce, WHMCS, and OpenCart. Do not install a similarly named third-party extension and assume it follows the same invoice, credential, or webhook contract. Start from the Paymos product page for the platform and test the complete order flow in Sandbox before enabling Production.
When does Hosted Checkout become the better fit?
Hosted Checkout fits a custom website that already creates orders. The
merchant's server creates an invoice and receives a payment_url; the browser
opens that URL as a redirect or inside a restricted iframe. Paymos owns the
payment interface, while the merchant keeps ownership of pricing, inventory,
customer access, and fulfilment.
This split avoids rebuilding wallet-facing details. The checkout is responsive and supports QR payment. On a phone it opens Trust Wallet, MetaMask, Tonkeeper or Phantom with the payment already filled in, on the networks each of them handles; for OKX the button copies the address and launches the app instead. The checkout follows the payer's language, with English as the fallback, and the payer needs no Paymos account or email address. Payment status updates on the page without a reload.
The return URL is navigation, not payment proof. A buyer can close the page, lose connectivity, or revisit a success route. The website should change the order only from a verified payment state. The crypto invoicing guide explains the complete invoice lifecycle without turning this article into a second API manual.
How much code does the Low-Code SDK need?
The Low-Code SDK sits between a Payment Link and a full server integration. It can open checkout inside the page or redirect the buyer, so a custom landing page, donation form, or service calculator keeps its own layout without rebuilding the payment screen.
The boundary is fulfilment. Browser events can update what the buyer sees, but they should not independently release a download, activate access, or dispatch goods. A trusted order system should act on the confirmed invoice state.
Keep secret credentials out of browser code. When the website needs server-created orders, safe request retries, or signed payment notifications, the no-code path has reached its limit. Move that work to the REST API guide instead of expanding the browser widget into a second backend.
How should the website match payment to an order?
Keep one stable business reference for every sale. A CMS plugin preserves the store order reference, while a manually managed Payment Link needs its invoice ID recorded beside the sale. Custom integrations should do the same in the merchant's order system.
Separate the return page from the payment result. A success page proves only that the buyer returned to the website. The order should remain pending until the invoice reaches its confirmed state.
Fulfilment must also tolerate repeated notifications. Record that an order has already released its download, access, or shipment before performing the action. If the same payment notification arrives again, the existing record stops a second delivery. The REST guide owns the implementation details; this article owns the decision to add that control.
What should the customer see at checkout?
Show the asset and network together. “USDT” alone does not identify whether the customer should send on Tron, Ethereum, BSC, or another supported route. The page also needs the exact amount, destination, current status, and enough time context for the buyer to finish the transfer.
Paymos accepts four stablecoins plus gold-backed XAUT across 13 mainnet networks. Native gas assets such as ETH, BNB, TRX, and SOL pay network fees; they are not invoice payment assets. The payer's wallet covers the incoming network fee, and that fee varies by chain and current network conditions.
Avoid publishing a fixed “payment takes N seconds” promise. Confirmation depends on the network, payment amount, and blockchain conditions. Show the live invoice state instead. For token-specific routing, link customers to the supported token pages rather than copying a long asset matrix into every product page.
What should you test before going live?
Test the complete business outcome in Sandbox. Create an order, open the payment page, simulate the supported result, and confirm that the correct order changes state once. Repeat the notification and verify that fulfilment does not run again. Then test expiry, cancellation, underpayment handling, and the buyer returning without a confirmed payment.
Keep Sandbox and Production credentials separate. Payment and Payout credentials are also separate, so a checkout integration does not need authority to withdraw merchant funds. Configure a merchant-controlled, whitelisted withdrawal address before moving settled assets.
Finally, document who handles exceptions. Staff need a place to find the invoice, compare its state with the order, inspect webhook delivery, and replay an event after the receiving system recovers. No-code checkout succeeds when ordinary sales need less engineering and exceptional sales still leave a clear operational trail.
| Path | Code required | Order connection | Best fit | |
|---|---|---|---|---|
| Payment Link | No custom code | Manual | One-off sales | |
| CMS plugin | No custom code | Platform-native | Supported stores | |
| Hosted Checkout | Light backend | Merchant order | Custom websites | |
| Low-Code SDK | Small script | Merchant order | On-site flow | |
| REST API | Full backend | Merchant order | Custom systems |
Frequently asked questions
Can a website accept crypto payments without code?
Yes. A business can create a Payment Link and place the URL behind a normal button, or install an official Paymos plugin on a supported CMS. A fully automated custom website needs a light integration or the REST API so invoices remain connected to orders.
Which method fits an online store?
Use an official CMS plugin when the store runs on WooCommerce, WHMCS, OpenCart, PrestaShop, Magento 2, Shopware 6, CS-Cart, or Easy Digital Downloads. For a custom storefront, connect Hosted Checkout or the Low-Code SDK to the existing order flow.
Does the customer need a Paymos account?
No. The payer does not create a Paymos account, provide an email address, or complete checkout KYC. The payment page shows the route, QR code, wallet options, and current payment status.
When should the website mark an order as paid?
Mark it paid after the confirmed payment event, not after the buyer returns to a success URL. Confirmation policy depends on the network and payment amount, so one fixed waiting time does not fit every order.
Who pays the blockchain network fee?
The payer's wallet pays the fee for sending the payment. Paymos covers the network work required to accept and consolidate it. The merchant balance remains in the accepted asset without a forced conversion.
When NOT to use a no-code crypto payment setup
- If prices, stock, discounts, or access rights change automatically, a manual Payment Link can drift away from the current order. Connect the checkout to the order system instead.
- If the website needs a completely custom payment interface, use the Low-Code SDK or REST API rather than forcing a no-code page to own the experience.
- If one payment must trigger several internal systems, use signed webhooks and repeat-safe fulfilment instead of relying on a browser return URL.
- If the business needs automatic recurring wallet charges, marketplace split payments, or scheduled payouts, a standard Paymos invoice does not provide those capabilities.
Sources
- 1. Paymos product overview (accessed 2026-07-30)
- 2. Paymos Hosted Checkout documentation (accessed 2026-07-30)
- 3. Paymos supported currencies (accessed 2026-07-30)
- 4. Paymos webhook documentation (accessed 2026-07-30)
Last reviewed Jul 30, 2026